¶ Introduction
Pika Spark is a matchbox-sized high-performance micro robot control system combining an unprecedented amount of computing power and interfaces within an extremely small form factor. The Pika Spark has two (2) galvanically isolated RS485 interfaces which can be used for communication with external devices. Galvanic isolation prevents ground-loops and increases overall system resilience and is an important feature in industrial-grade control systems.
RS485 is a differential, multi-drop capable bus which makes it an ideal choice for connecting a wide range of computer and automation systems leading to RS485 becoming the bus of choice for industrial control systems. This tutorials explains how to use Pika Spark's RS485A interface, which is connected to the Yocto-Linux-running IMX8 application processor of the Arduino Portenta X8, for both receiving and transmitting data.
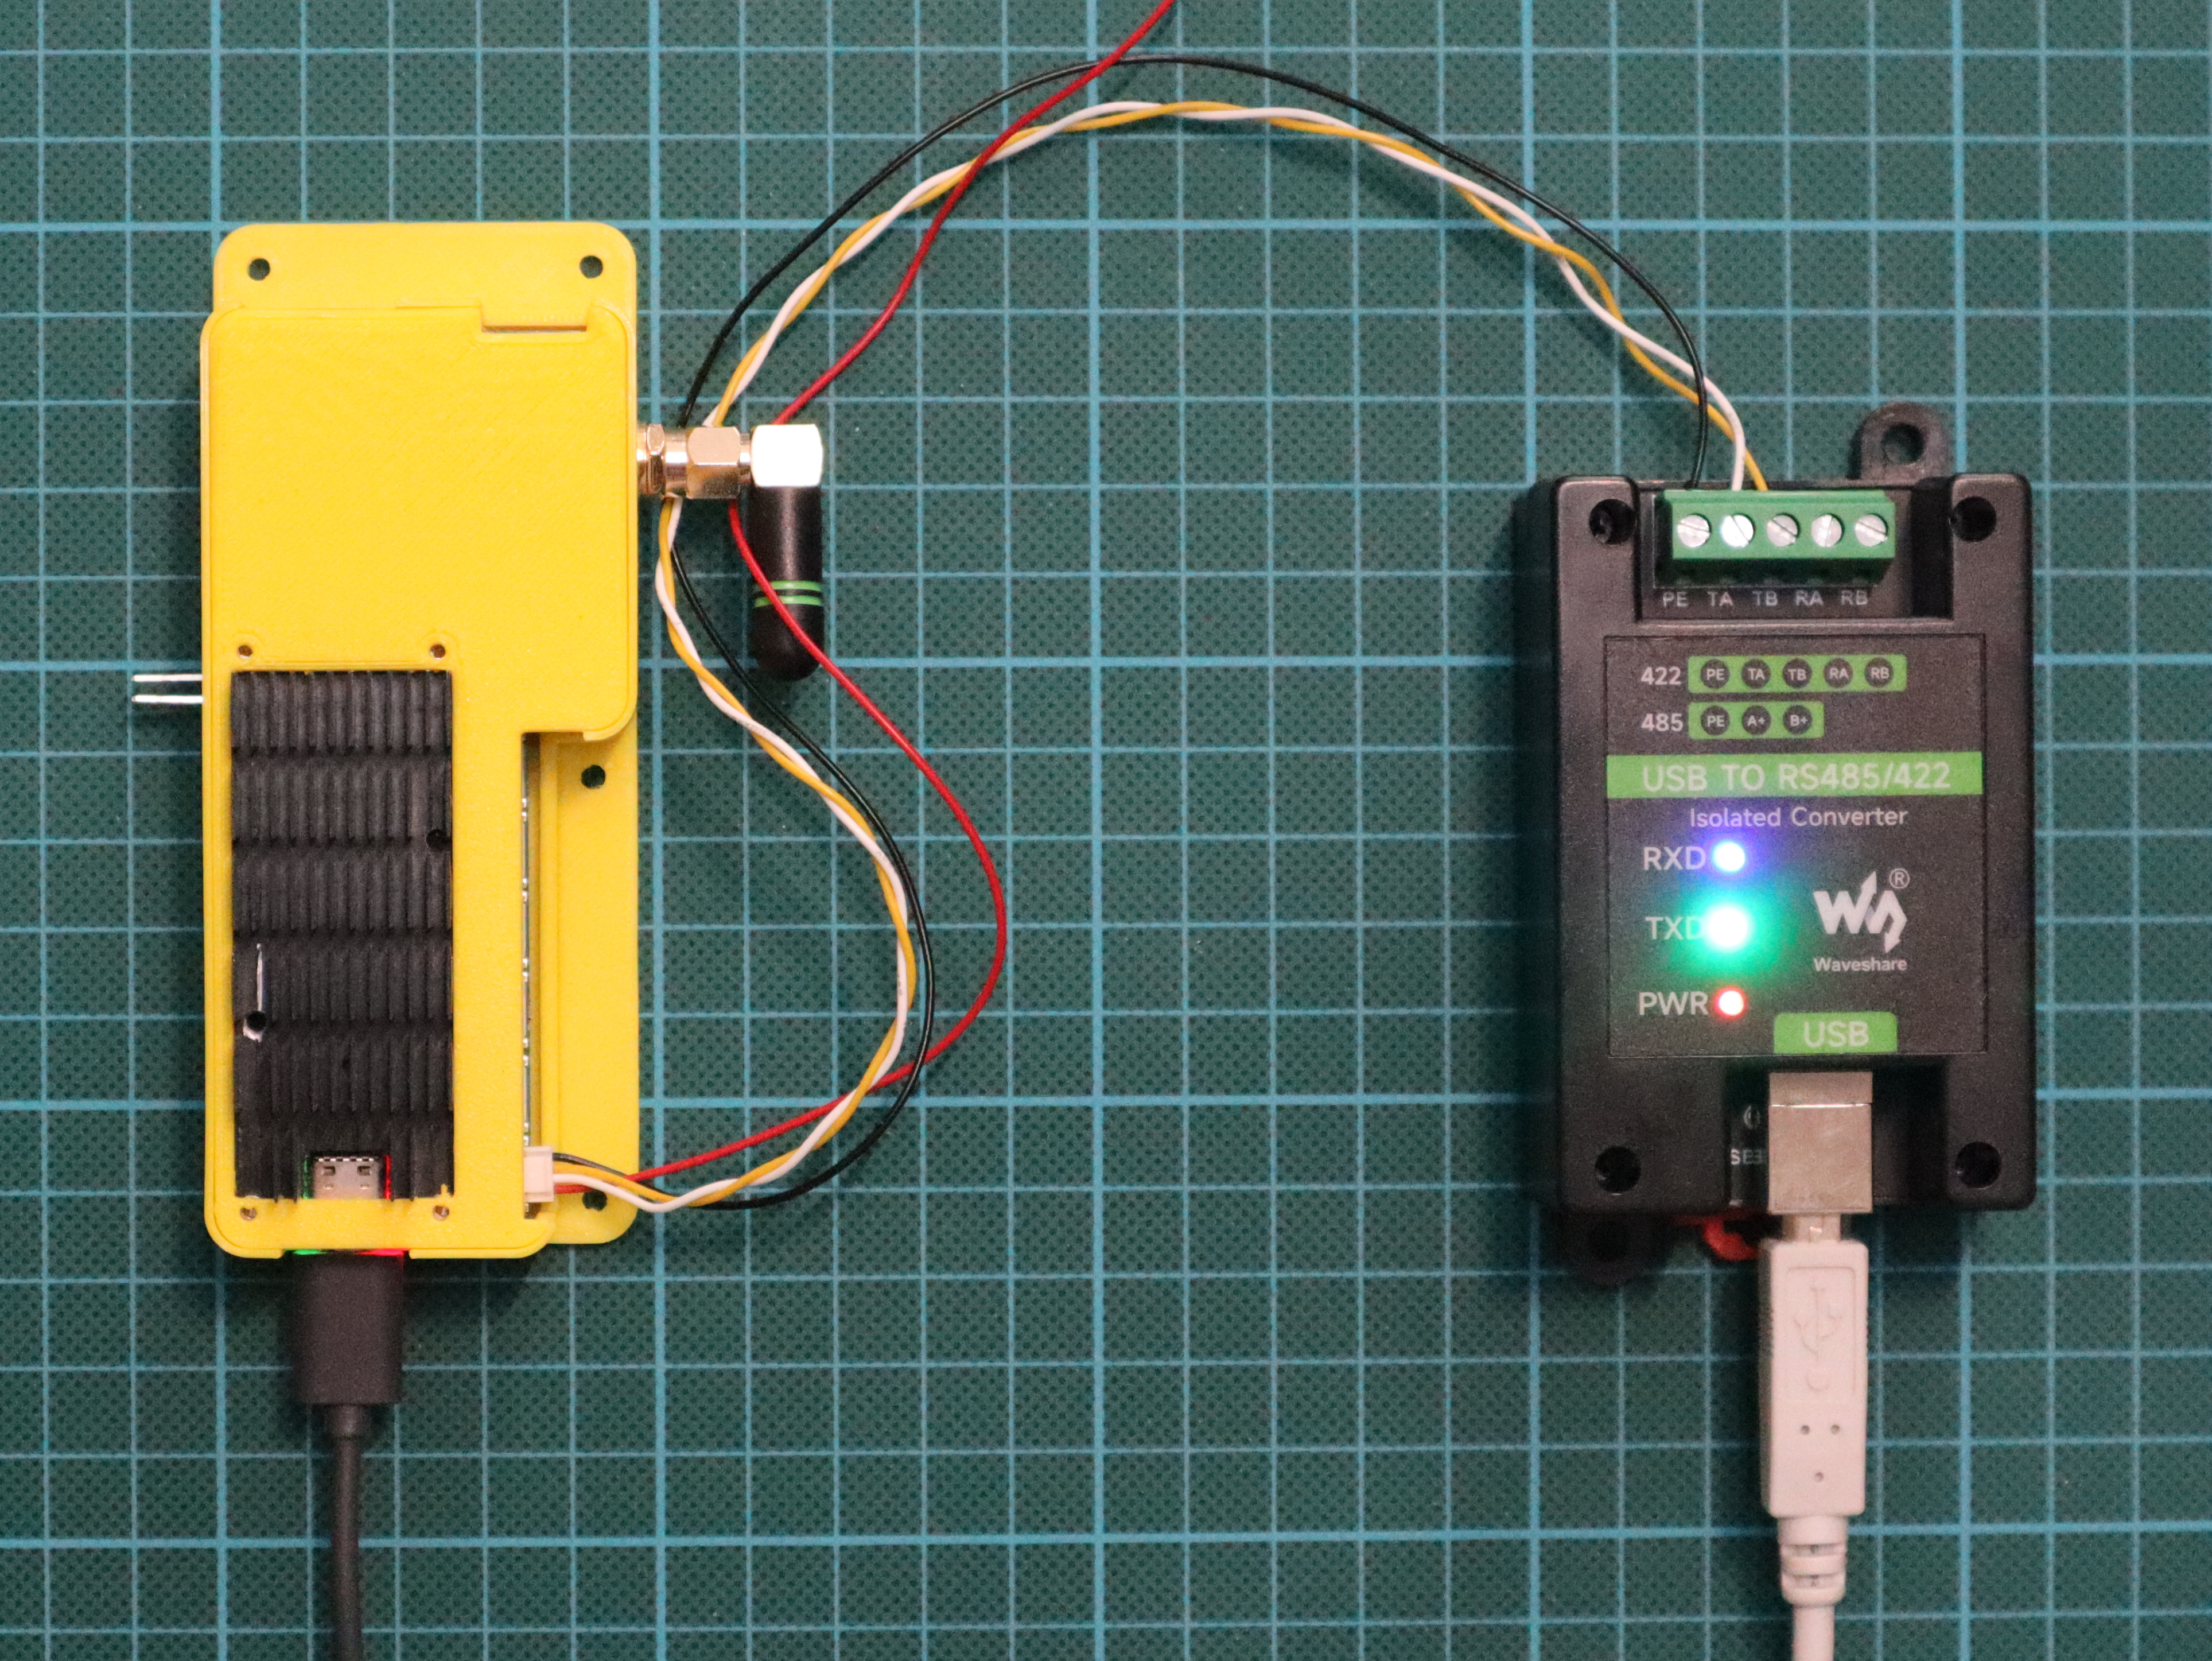
Fig. 1: Pika Spark exchanging data via RS485 w/ an USB-RS485 converter
¶ Preparation
On the Pika Spark the RS485A interface is exposed as /dev/ttymxc1 which - using device-tree magic - is automatically configured as RS485 interface during Linux boot-up. In order to transmit or receive data via this tty interface various utility programs exist - We will be using minicom during this tutorial. Since this package is not per-default installed on the Arduino Portenta X8s image we need to create a Dockerfile that contains these tools.
FROM alpine:3.18
RUN apk add minicom
COPY minirc.dfl /etc/minirc.dfl
The entry in the last line of the Dockerfile is used to store a minicom configuration file within the image which directly configures the communication tools' RS485 options.
pu rtscts           No
pu rs485en          Yes
pu rs485rtsonsnd    Yes
In the next step a Docker image is built from the Dockerfile using docker build.
docker build --pull --no-cache --tag pika_spark_rs485a_minicom .
Next we need to grant read/write access to the RS485A interface for our newly created Docker container. This is simply done by granting +rw access for all users, groups and others ugo. Note: a better solution would be to add our own user to the group that owns the /dev/ttymxc1 interface.
sudo chmod ugo+rw /dev/ttymxc1
As a final step run (docker run) the newly created pika_spark_rs485a_minicom container passing the RS485A tty interface via --device /dev/ttymxc1 as well as the baudrate via -b 115200 in order to execute minicom in an interactive shell inside the container.
¶ Receive and transmit data via RS485
As a communication partner for the Pika Spark we'll be using a generic USB-to-RS485 dongle directly connected to Pika Spark's RS485A port, again running minicom to both send and receive data via RS485.
minicom -D /dev/ttyUSB0 -b 115200
Depending on your specific USB-to-RS485 dongle you may need to configure minicom for RS485 which can be achieved by opening options ( Ctrl+A, O ) and enabling RS485.
H -     RS485 Enable      : Yes
I -   RS485 Rts On Send   : Yes
The following video shows both configuration of minicom and how data is exchanged between Pika Spark and PC via RS485:
¶ TL;DR
In order to simplify trying out those examples for both receiving and transmitting data via Pika Spark's galvanically isolated RS485 interfaces ready-made bash scripts with integrated error handling and convenience features have been prepared.
git clone https://github.com/pika-spark/pika-spark-containers
cd pika-spark-containers/rs485a-minicom
./docker-build.sh
sudo ./docker-run.sh [baudrate]